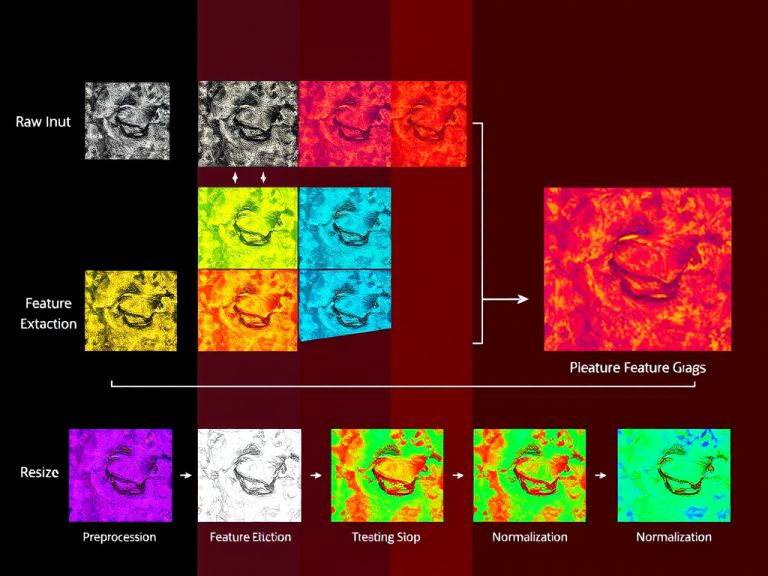
This post discusses the exploration of potentials for improving the results of an object recognition application using the YOLO CNN for object detection and recognition. In this post, we will use a Python script using the Pillow (PIL) library and hope to be able to generate up to 100 augmented variations of each image
Features of This Script
- Reads images from a folder called primary_images
- Applies multiple transformations, such as:
- Contrast adjustments
- Brightness changes
- Hue, Saturation & Color Modifications
- Blurring (Gaussian, BoxBlur, MedianBlur, etc.)
- Sharpness modifications
- Rotation, flipping, noise addition, etc.
Additionally, it:
- Creates 100 diverse images per primary image
- Stores results in a “modified” folder, with each image in its own subfolder
- Names the output images as “primary_image_000.jpg” to “primary_image_099.jpg”
Python Source Code
from PIL import Image, ImageEnhance, ImageFilter

# Define folders
APP_FOLDER = os.getcwd()  # Get current working directory
PRIMARY_IMAGES_FOLDER = os.path.join(APP_FOLDER, "primary_images")
MODIFIED_FOLDER = os.path.join(APP_FOLDER, "modified")

# Create modified folder if it doesn't exist
if not os.path.exists(MODIFIED_FOLDER):
    os.makedirs(MODIFIED_FOLDER)

# Define enhancement ranges - not used in code but preferred to using numbers in code
# provides opportunity to modify while code is running
BRIGHTNESS_RANGE = (0.5, 1.5)  # 50% to 150%
CONTRAST_RANGE = (0.5, 1.5)
SATURATION_RANGE = (0.5, 1.5)
SHARPNESS_RANGE = (0.5, 2.0)
BLUR_LEVELS = [1, 2, 3]  # Different blur intensities

# Function to apply random transformations
def apply_transformations(image):
    """
    Applies random transformations to the image to create variations.
    Includes changes in brightness, contrast, hue, saturation, sharpness, and blur.
    """
    # Randomly adjust contrast
    contrast_factor = random.uniform(0.5, 1.5)
    image = ImageEnhance.Contrast(image).enhance(contrast_factor)

    # Randomly adjust brightness
    brightness_factor = random.uniform(0.5, 1.5)
    image = ImageEnhance.Brightness(image).enhance(brightness_factor)

    # Randomly adjust saturation
    saturation_factor = random.uniform(0.5, 1.5)
    image = ImageEnhance.Color(image).enhance(saturation_factor)

    # Randomly adjust sharpness
    sharpness_factor = random.uniform(0.5, 2.0)
    image = ImageEnhance.Sharpness(image).enhance(sharpness_factor)

    # Apply random blur (Gaussian, Box, or Median)
    blur_level = random.choice([None, "gaussian", "box", "median"])
    if blur_level == "gaussian":
        image = image.filter(ImageFilter.GaussianBlur(radius=random.uniform(1, 3)))
    elif blur_level == "box":
        image = image.filter(ImageFilter.BoxBlur(radius=random.uniform(1, 3)))
    elif blur_level == "median":
        image = image.filter(ImageFilter.MedianFilter(size=3))

    return image

# Function to generate variations
def generate_variations(image_path, num_variations=100):
    """
    Generates multiple variations of an image and saves them to the modified folder.
    """
    image_name = os.path.basename(image_path)
    image_base, _ = os.path.splitext(image_name)

    # Create a subfolder inside 'modified' with the same name as the primary image (if not exists)
    image_output_folder = os.path.join(MODIFIED_FOLDER, image_base)
    os.makedirs(image_output_folder, exist_ok=True)

    # Open the original image
    image = Image.open(image_path).convert("RGB")

    # Generate 100 variations
    for i in range(num_variations):
        modified_image = apply_transformations(image)
        output_filename = f"{image_base}_{i:03d}.jpg"  # e.g., "primary_image_001.jpg"
        output_path = os.path.join(image_output_folder, output_filename)

        # Save the modified image, overwriting existing files
        modified_image.save(output_path, "JPEG")

        print(f"Generated: {output_filename}")


# Process all images in the primary_images folder
if os.path.exists(PRIMARY_IMAGES_FOLDER):
    for filename in os.listdir(PRIMARY_IMAGES_FOLDER):
        if filename.lower().endswith((".jpg", ".jpeg", ".png")):
            image_path = os.path.join(PRIMARY_IMAGES_FOLDER, filename)
            print(f"Processing: {filename}")
            generate_variations(image_path)
else:
    print("Error: primary_images folder not found!")
How It Works
- The program scans the
primary_imagesfolder for images (.jpg,.jpeg,.png). - It then creates a folder for each image inside the
modified/folder (if it doesn’t already exist). - Next, it generates 100 variations per image. For each image:
- It adjusts the contrast, brightness, hue, saturation, sharpness randomly.
- It applies different blurring techniques (Gaussian, Box, Median).
- It then overwrites existing files to avoid duplicates when the script is re-run.
- Lastly, it saves the modified images in a structured format (
primary_image_000.jpg,primary_image_001.jpg, …primary_image_099.jpg).
Example Folder Structure After Running the Script
app/
│── primary_images/
│   ├── primary_image.jpg
│   ├── second_image.jpg
│
│── modified/
│   ├── primary_image/
│   │   ├── primary_image_000.jpg
│   │   ├── primary_image_001.jpg
│   │   ├── ... (up to 099)
│   ├── second_image/
│   │   ├── second_image_000.jpg
│   │   ├── second_image_001.jpg
│   │   ├── ... (up to 099)
Why This Works for YOLO Training
Enhances dataset diversity – Different lighting, sharpness, and blur levels mimic real-world conditions.
Prepares the model for real-world data – Variations improve model robustness.
Maintains annotation integrity – Rotations are not applied for the dataset. Thus, existing Label-Studio annotations remain valid.
Customization Options
Adjust number of variations: Change num_variations=100 in generate_variations().
Include additional augmentations: Add more ImageEnhance filters if needed.
Exclude specific transformations: Modify apply_transformations().
Next Steps / Final Notes
- Run the script in a Python environment with Pillow installed.
- Check the
modified/folder for augmented images. - Train your YOLO model with the expanded dataset.
Thanks for reading through this quick approach for generating image variations. Submit a comment if you have further ideas and we can get to chat about it.


